
In today's digital world, content is king. But to make your expertise and insights truly shine, you need a format that's engaging, shareable, and positions you as an authority in your field. That's where eBooks come in! These versatile digital publications are key to an effective inbound marketing strategy and offer a host of benefits for businesses of all sizes:
- Establish Thought Leadership: eBooks allow you to delve deeper into complex topics, demonstrating your knowledge and establishing your business as a go-to resource for valuable information.
- Generate High-Quality Leads: Offer your eBook as a downloadable resource in exchange for contact information, building a powerful email list filled with potential customers genuinely interested in your niche.
- Boost Brand Visibility: A well-designed eBook can be shared across social media and industry websites, significantly expanding your reach and attracting new audiences.
- Create a Long-Lasting Asset: Unlike a single blog post or social media update, an eBook serves as a lasting testament to your expertise that continues to provide value over time.
Ready to reap these benefits and take your content marketing to the next level? In this guide, we'll teach you how to transform your existing Word documents into professional-looking eBooks.
First Steps
Step 1: Optimize Your Content for the eBook Format
Before you jump into design, ensure your content is ready for its new life as an eBook. Here's how:
- Proofread with Care: Give your document a thorough proofread (or two!). Typos and grammatical errors detract from your professionalism. Consider reading aloud to catch awkward phrasing or errors your eye might miss.
- Create a Natural Flow: If your document wasn't written with an eBook in mind, take time to adjust its structure. Divide the text into chapters or sections with clear headings and subheadings. This creates a logical flow for the reader.
- Re-Read for Coherence: With fresh eyes, read your restructured document. Does it have a clear point of view? Does the content transition smoothly from one section to the next? Don't be afraid to edit or even add short connecting segments to improve the overall reading experience.
Tip: If possible, involve a fresh pair of eyes in the proofing process. A colleague or friend can spot things you might overlook.
Step 2: Choose and Prepare Your eBook Template
A well-designed eBook template will save you time and ensure your final product looks professional. Here's what to do:
- Find the Right Template:
- If your company has pre-approved eBook templates, start there. If not, numerous free and premium template resources are available online. Search for "[your industry] eBook templates" to find options matching your niche and branding.
- Duplicate and Rename: Create a copy of your chosen template. Rename it something identifiable, like "[Title of Article]_eBook_v1".
- Customize (If Needed): Many templates are already formatted correctly, but consider adjusting colours or fonts to align with your branding.
Important: Always consider the final eBook format your reader will be using. Will you be saving it as a PDF, or as a format specifically for eReaders like Kindle (ePub or Mobi)? Your template choice should consider the final product.
Step 3: Design Your Cover Page
Your eBook's cover is its first impression! Take care in designing this page using your PowerPoint template:
- Title: Insert the title of your eBook. Keep it concise but eye-catching. Consider using a larger font size than your inner content.
- Subtitle (Optional): If a subtitle helps clarify your topic or adds intrigue, use it. Keep it brief and make it visually smaller than your title.
- Author/Company: Prominently display your name or your company's name to establish ownership of the content.
- Visual Element (Optional): While not strictly necessary, an image, icon, or simple graphic relevant to your topic can enhance visual appeal.
Tip: Play with different font styles and sizes to establish a hierarchy that draws the reader's eye to the most important information first.
Step 4: Craft Your Table of Contents (Optional)
A table of contents makes your eBook easy to navigate. Consider adding yours now, or create a placeholder to fill in later:
- Add a Table of Contents Page: Insert a new slide immediately after your cover page and title it "Table of Contents" or "Contents."
- List Your Headings: Use the headings and subheadings you established in Step 1. If your template includes automatic formatting, your table of contents may even populate itself!
- Choose When to Complete: If you're still editing content or the structure may change, it's fine to leave the details of the table of contents (like page numbers) until later.
Tip: Your table of contents sets expectations for the reader. Ensure your chosen headings accurately reflect the content that follows!
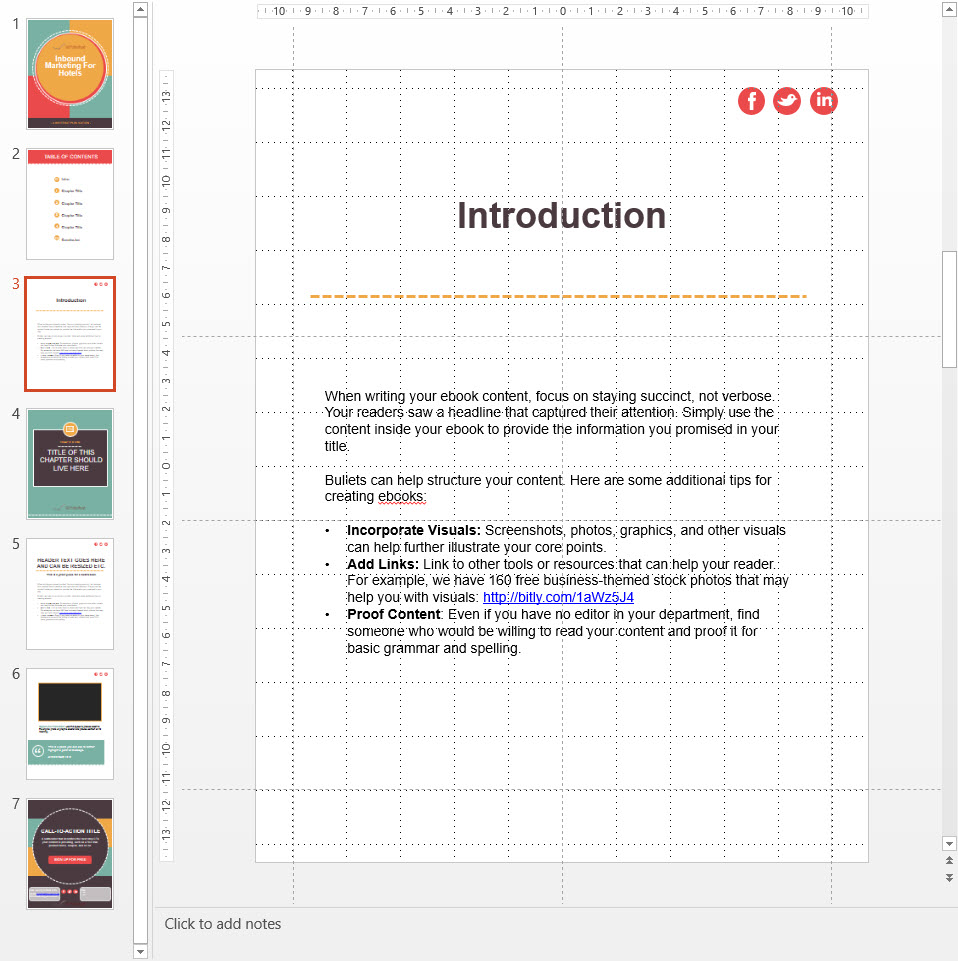
Step 5: Write a Compelling Introduction (Optional)
While not every eBook needs a long introduction, a few concise paragraphs can provide valuable context for your reader:
- Hook Your Audience: Briefly explain the problem your eBook solves or the question it answers. Why is this topic important?
- Preview Content: Give a tantalizing overview of the main points readers will find in your eBook.
- Set the Tone: Your introduction establishes the voice of your eBook. Match the formality and style to your audience and your branding.
Formatting Tips:
- Create a Dedicated Page: Place your introduction immediately after the table of contents.
- Design Consistency: Follow your chosen template's font style, size, and spacing to maintain a professional and cohesive look.
Note: The instructions about keeping links intact when duplicating pages seem very software-specific. If this technique doesn't apply to every reader, consider removing it entirely, so it doesn't confuse.
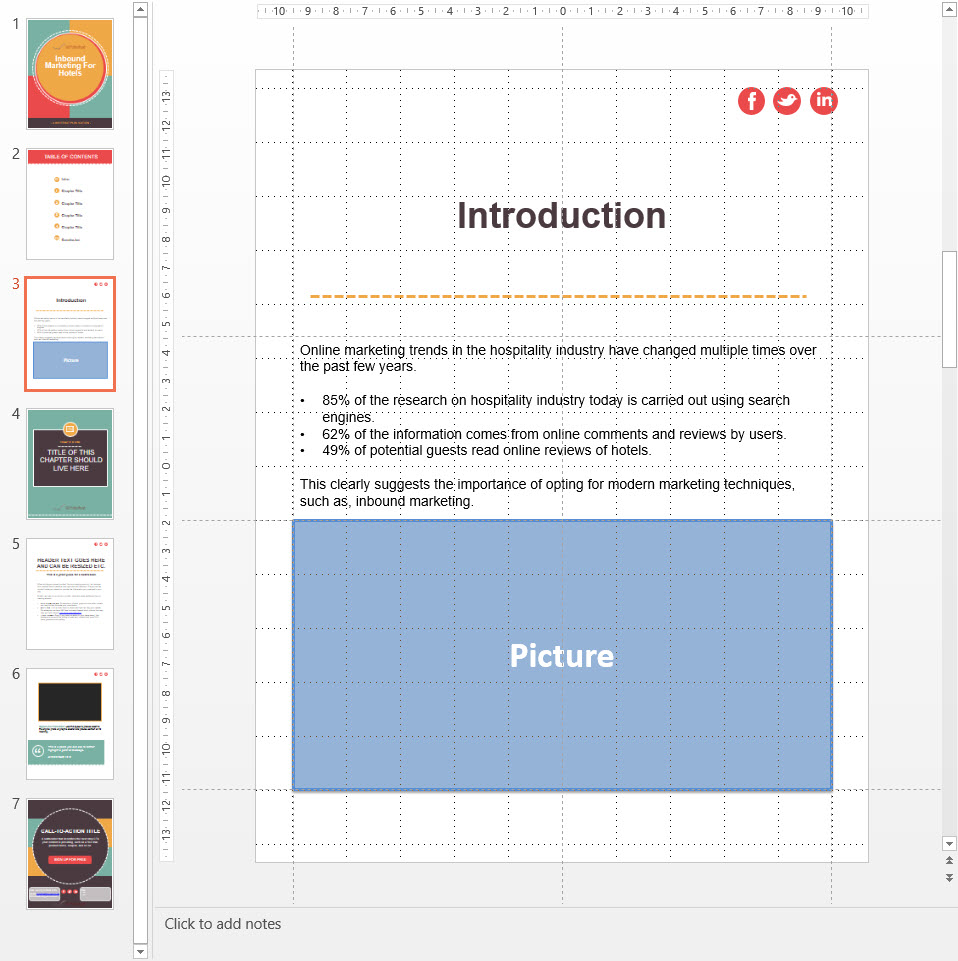
Step 6: Enhance Your Content with Visuals
Images make your eBook more engaging and help illustrate your concepts. Here's how to integrate them effectively:
- Balance Text and Visuals: While a 50/50 split can be a good guideline, adjust the space dedicated to text or images as needed. Complex ideas might need more explanatory text, while other points might be self-evident with a strong visual.
- Choose Relevant Images: Ensure every image adds value – whether it's a photo, graph, chart, or illustration. Images should directly support the text, not just act as visual fillers.
- SEO-Friendly Naming: Use descriptive file names with keywords separated by hyphens (e.g., "content-marketing-roi.jpg"). This helps search engines understand your image content.
- Vary Placement: Keep things interesting by switching the position of text and images from page to page.
Important: Be sure you have the right to use all images you include! Use your photos, or royalty-free stock images, or cite image sources if necessary.
Good sources for pictures can be found here:
But I recommend focusing on the text first and once that is done, I would search for appropriate pictures.
Step 7: Start Your First Chapter
Your chapters form the core structure of your eBook. Keep these tips in mind when creating yours:
- Clear and Descriptive Title: Use the heading you established in Step 1 for your first chapter. It should accurately reflect the chapter's content and grab the reader's attention.
- New Page: Ensure each chapter begins on a fresh page for optimal readability.
- Consider a Chapter Intro (Optional): If it makes sense for your eBook's style, briefly introduce the chapter's main ideas and connect it to the overall focus of your eBook.
Tip: If you're using an eBook template, your formatting for chapter headings (font, size, spacing) may be preset.
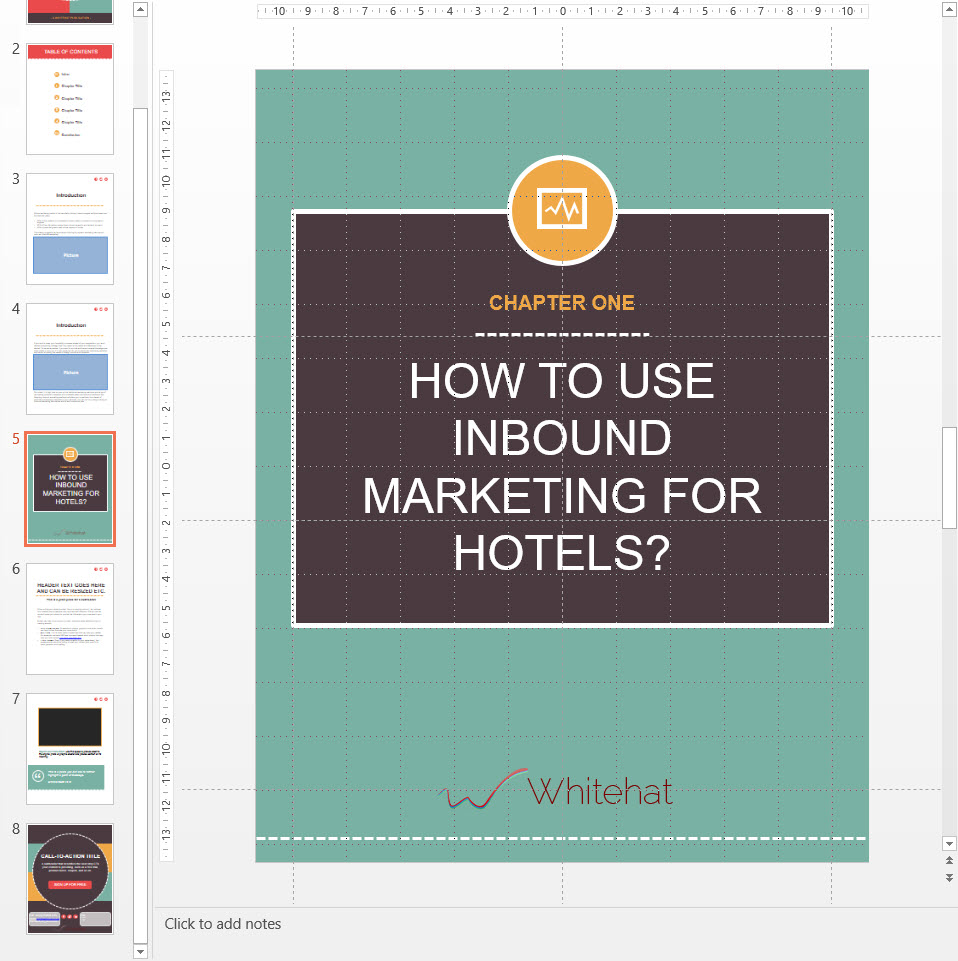
Step 8: Design Your Chapter Opener
Each chapter should have a visually distinct start. Here's how to format it:
- Start with a Template: Many templates have predesigned chapter opener pages. If yours does, simply duplicate it and adjust the content. If not, duplicate another formatted page from your template.
- Insert Engaging Title: Replace the placeholder text with your chapter title. Consider making it a larger font size than your regular body text.
- Subtitle (Optional): Craft a descriptive subtitle to provide additional context if it helps further define the chapter's scope.
- Keep it Consistent: Make sure your chapter opener pages visually match the template style you've already established.
Note: Depending on your chosen eReader format, page duplication might not be the best technique for every reader. It might be a good idea to add an alternative suggestion like, "Create a visually distinct start to each chapter".
Step 9: Build Out Your Chapters
Continue creating chapters using the following process:
- Name Your Chapter: Title each chapter based on your established headings.
- Design the Chapter Opener: Format a distinct chapter opener page, inserting your title and optional subtitle.
- Add Content: Transfer your Word document text, section by section, onto the eBook pages. Remember to include images and follow formatting guidelines.
Tip: Don't be afraid to reorganize chapters or content within chapters if a more logical flow appears to you as you're building your eBook.
Step 10: Finalize Your Table of Contents
If you haven't already, complete your table of contents on the designated page following your cover:
- List Chapter Titles: Ensure all chapter titles are included in the order they appear in your eBook.
- Add Page Numbers: Once your eBook is complete, go back and fill in the correct page numbers for each chapter in the table of contents.
- Automatic Formatting (If Available): Some templates and eBook authoring software allow for automatically generated tables of contents that update page numbers for you. Check if your chosen method has this feature.
Step 11: Source Powerful Visuals
Enhance your eBook's impact by incorporating a variety of relevant visuals:
- Compelling Cover Image: Search for a high-quality, eye-catching image that represents the core theme of your eBook.
- Topic-Specific Images: Throughout your content, integrate photos, illustrations, or screenshots that illuminate your written points.
- Informative Data Visualizations: Use graphs, charts, and infographics to summarize complex data or statistics.
- Quotes or Testimonials: Consider including visually highlighted quotes or short testimonials related to your topic.
Where to Find Visuals:
- Stock Image Websites: Explore free and paid options like Unsplash, Pexels, or Pixabay.
- Data Visualization Tools: Use online tools (many have free options) like Canva or Infogram to create custom charts and graphs.
Important: Always abide by image usage rights. Utilize royalty-free sites, purchase images as needed, or cite the source of any graphics you use.
Step 12: Consider Background Images (Optional)
Background images can add visual interest, but use them with caution. Here's what to keep in mind:
- Subtlety is Key: If you use background images, choose faint or slightly blurred ones to ensure your text remains easily readable.
- Relevance: Background images should relate to your eBook's overall theme, not be solely decorative.
- Use Sparingly: Avoid overwhelming your eBook design with too many background images. A subtle backdrop just on the first or last page can add a sophisticated touch.
Note: Consider your chosen template and eBook format – overly complex backgrounds may not translate well for certain eReaders.
Step 13: Polish and Publish Your eBook
Before sharing your eBook with the world, make sure it's at its absolute best:
- Meticulous Proofread: Go through your entire eBook multiple times, checking for typos, grammatical errors, and overall clarity.
- Design Review: Ensure formatting (fonts, spacing, images) is consistent and visually appealing. Does your chosen colour scheme create easy readability?
- Read from a User's Perspective: Read through as if you are seeing it for the first time. Is the flow logical? Are the visuals helpful?
- Test on Different Devices: If possible, view your eBook on different eReaders or tablets to ensure the formatting translates well.
- Choose Your File Format: Save or export your eBook in the appropriate format, typically PDF or a format compatible with eReaders (ePub, Mobi).
Tip: If possible, ask a colleague or friend for a final proofread with fresh eyes to catch anything you might have missed.
That's it! You're ready to share your knowledge in eBook form.
Conclusion
You've taken the first step toward creating a powerful eBook. Don't stop here! If you need additional guidance or would like help taking your eBook design to the next level, feel free to reach out to [your company/team]. We're here to help you share your expertise with the world.
FAQ
Q: What's the best file format to save my eBook in? A: PDF is the most versatile format, ensuring your eBook looks the same across various devices. However, if you wish to distribute it on eReader platforms like Kindle or Nook, you'll need to convert it into formats like ePub or Mobi.
Q: Do I need design experience to create an eBook? A: No! Templates and user-friendly online tools exist that eliminate the need for advanced design skills. The most important part is having well-organized, engaging content.
Q: Where can I find free, high-quality images for my eBook? A: Websites like Unsplash, Pexels, and Pixabay offer vast libraries of royalty-free images you can use. Always check the specific usage terms of each image before including it in your work.
Q: How long should my eBook be? A: EBooks come in various lengths. Focus on providing enough valuable content to address your chosen topic thoroughly. Avoid adding unnecessary wordiness just for the sake of length.
Q: Can I customize the guide’s instructions further to fit my specific process? A: Absolutely! These steps serve as a foundation. While some instructions might reference PowerPoint, use them as a springboard to adapt to your preferred design tools and software. The core principle of structure, design, and visual enhancement applies across platforms.
